Showing posts with label nails. Show all posts

Tuesday, July 31, 2012

Nail Post: Sliver and Neon

Hi there! So guess who did their nails the other day and took pictures? Hint: It's me! :) So I got very bored the other day and decided, "Hey, why not paint my nails?" I chose to do a different design on each nail, because I wanted to have some fun with it, but the colors are still the same, so that it all looks cohesive.

Hope you like my nails as much as I do! :)


Here's my right hand
Here's my left hand


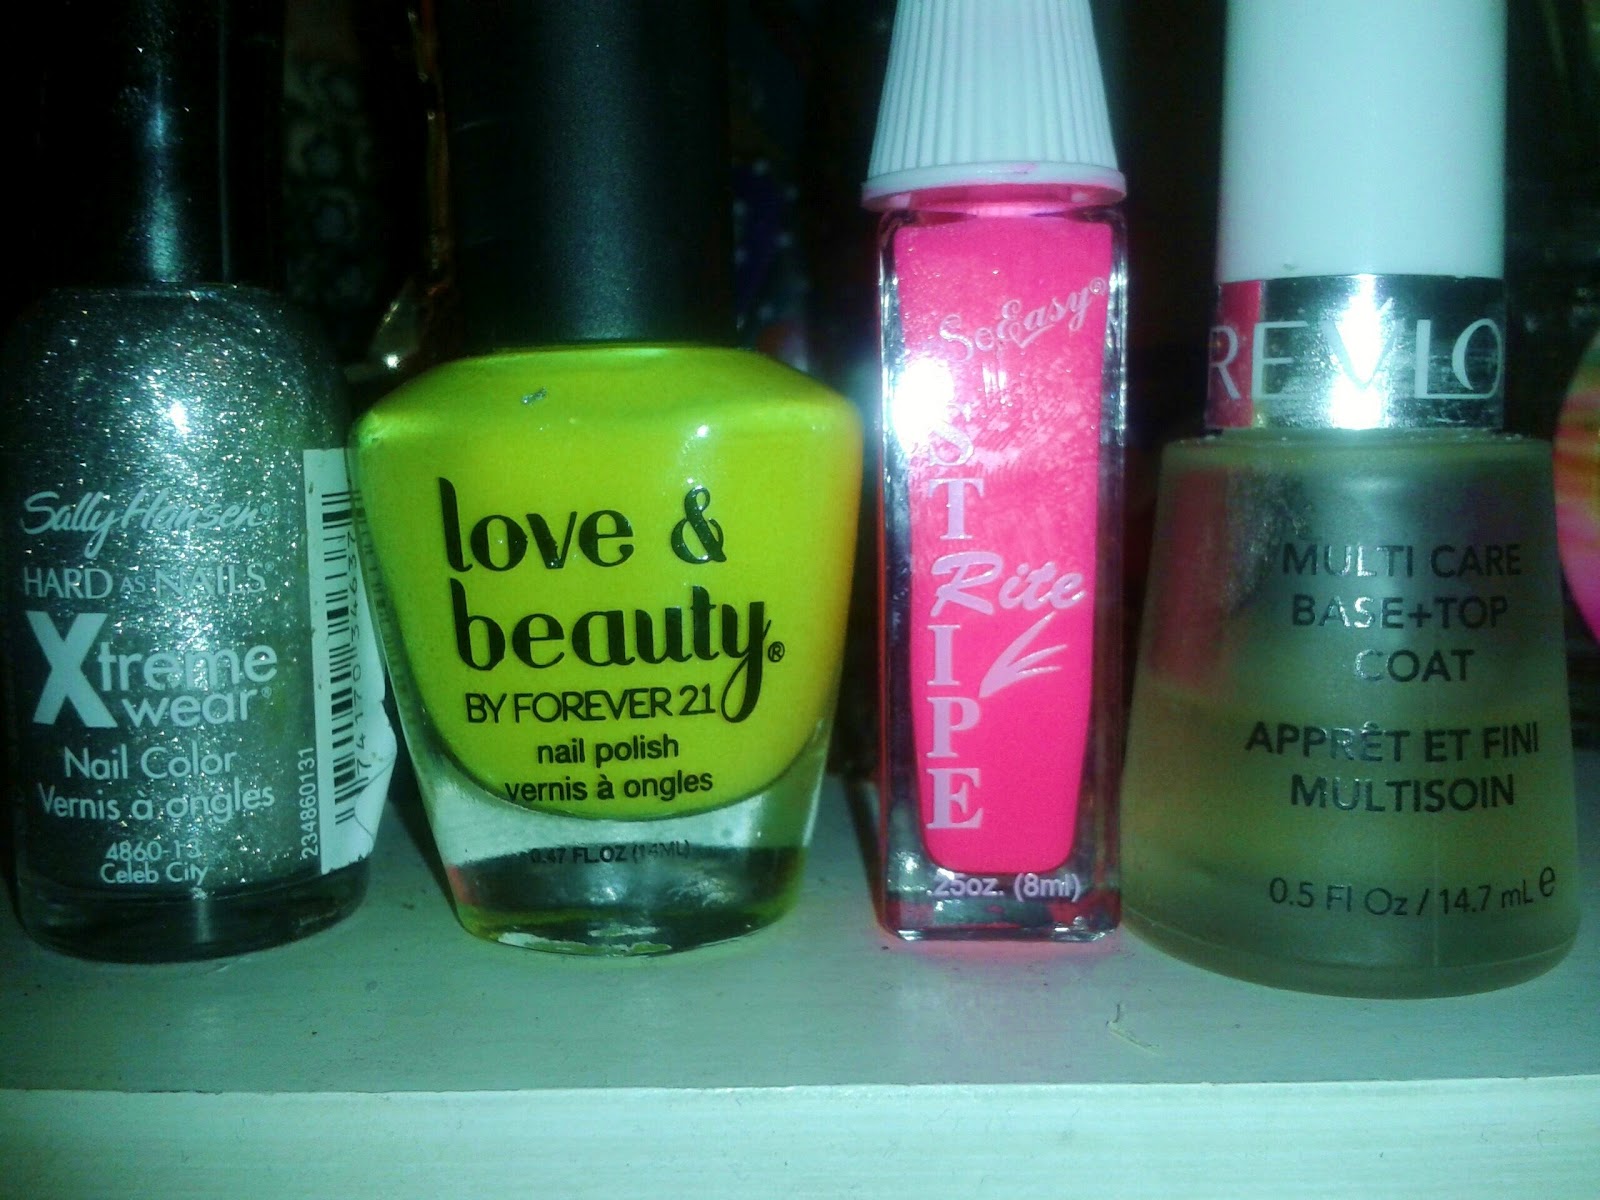
In case anyone was wondering here are the nail polishes I used:

Sally Hansen- Hard Nails- Xtreme Wear Nail Color- Celeb City, Love & Beauty- by Forever 21- Neon Yellow, It's So Easy- Stripe Rite Nail Paint- Hot Pink, Revlon- Multi Care- Base + Top Coat


Also here's this really great nail polish remover I used:

Polish Off Professional- 100% Pure Acetone


It was really fun coming up with different designs! Although it took me a bit of time to do my nails, I have to say it was well worth it! :)

I love how the bright neon colors go so well with the shimmery silver!


Lastly, I more recently did my mom's nails, here's a quick snapshot of those:

The nail colors I used on here hand were Sally Hansen- Celeb City(same as above) and FingerPaints-Tiffany Imposter


Friday, August 5, 2011

Quick Nail Post

Okay guys, I'm sorry that I've been gone for some days. I COULD lie, and tell you I was busy, but let's be honest: I was lazy. But now I'm back with a quick post of my nails that I did a few days ago, hope you like it.

 All I did with my nails was paint them black, then add a white, diagonal stripe to each nail, and lastly, I added a topcoat so they would last longer.

 Both hands on display :)

These are the nail polishes, that I used.

The black nail polish I used was Wet N Wild's Wild Shine nail polish, in Black Creme.

Honestly, I have no idea what brand this polish is, probably just form the dollar store, but it did the trick.

This top layer that I used, is Top 10 Nails' Clear Coat.


Now, here's just a few more pics of my nails:


Monday, June 20, 2011

Make It Sparkle

So last week I painted my nails and it turned out amazing! It was a nice dark blue color with sparkles.

 Here's what it looked like:

sorry for the quality of this pic, but there's another one as you read more and it's somewhat better


Now I'm going to give you the steps to achieve this look.


1st) You need Wet n Wild's Wild Shine in Sapphire Blue (445D)

You probably will only need to apply one coat of this because of the darkness in color, because you'll be applying more nail polish on top of this(the sparkly nail polish), and the fact that it's quality nail polish.


2nd) You'll need Claire's teal glitter nail polish

You can add as many coats of this as you want, because it just depends on your tastes and how much sparkle you really want, but I only did 1 coat (well more like 1 and half).
In this picture you can actually see how this polish is a teal color, and not as light.


3rd) Well there is no 3rd but now you're done and you get to see the end result!


Another option is, if you wanted your nails to be darker blue than mine were then you should use black for the bottom coat instead of blue

This black nail polish(I used it on my toes) is by Sally Girl and is called Poser(812) and is also shown in the picture below

I used black polish on my toes, and although I thought it was going to be black, it turned out to look more like a navy or midnight blue because of the sparkles already being blue.


Also, while on the subject of changing the shade, I assume that if you wanted a lighter blue for your nails then you could always get use some lighter shade of blue to replace the sapphire blue that I used.

Hope you enjoyed this little tutorial! :D